Nail art fails in predictable ways: the photo was a two-hour set booked into a one-hour slot, the design was drawn for long almond nails and your hands are short and square, or the tiny detail work that looked crisp on a screen turns muddy at real-life size. None of that is about talent. Planning nail art is mostly a time and translation problem, and first-timers at Finesse Nails in Waxhaw can solve most of it before sitting down. Here is the walkthrough, in the order it actually happens.
Step by step, from photo to finished set
- Save references that agree with each other. Two or three photos in the same family (same palette, similar complexity) beat ten screenshots pulling in different directions. Your technician reads them as one brief.
- Send or mention the art when you book. Art adds chair time, sometimes a lot. Booking a plain set and unveiling a detailed photo in the chair is how appointments run late and designs get rushed.
- Match the design to your nail size. A full miniature scene needs canvas. On short nails, the same idea compresses into one motif per nail or a single accent nail, which often looks better anyway.
- Pick the simpler twin. Most elaborate designs have a cleaner sibling: chrome lines instead of hand-drawn filigree, dots and one flower instead of a full bouquet, a French tip with a single detail. Ask what the simplified version looks like before deciding you need the original.
- Agree the plan nail by nail. In the chair, confirm which nails get the full design, which get accents, and which stay plain. Thirty seconds here prevents the last two nails becoming improvisation.
- Expect detail to be painted last and checked twice. Fine brush work happens over cured color, one nail at a time. Hold still, literally: hand-painted lines punish fidgeting more than any other step.
What detail costs in minutes
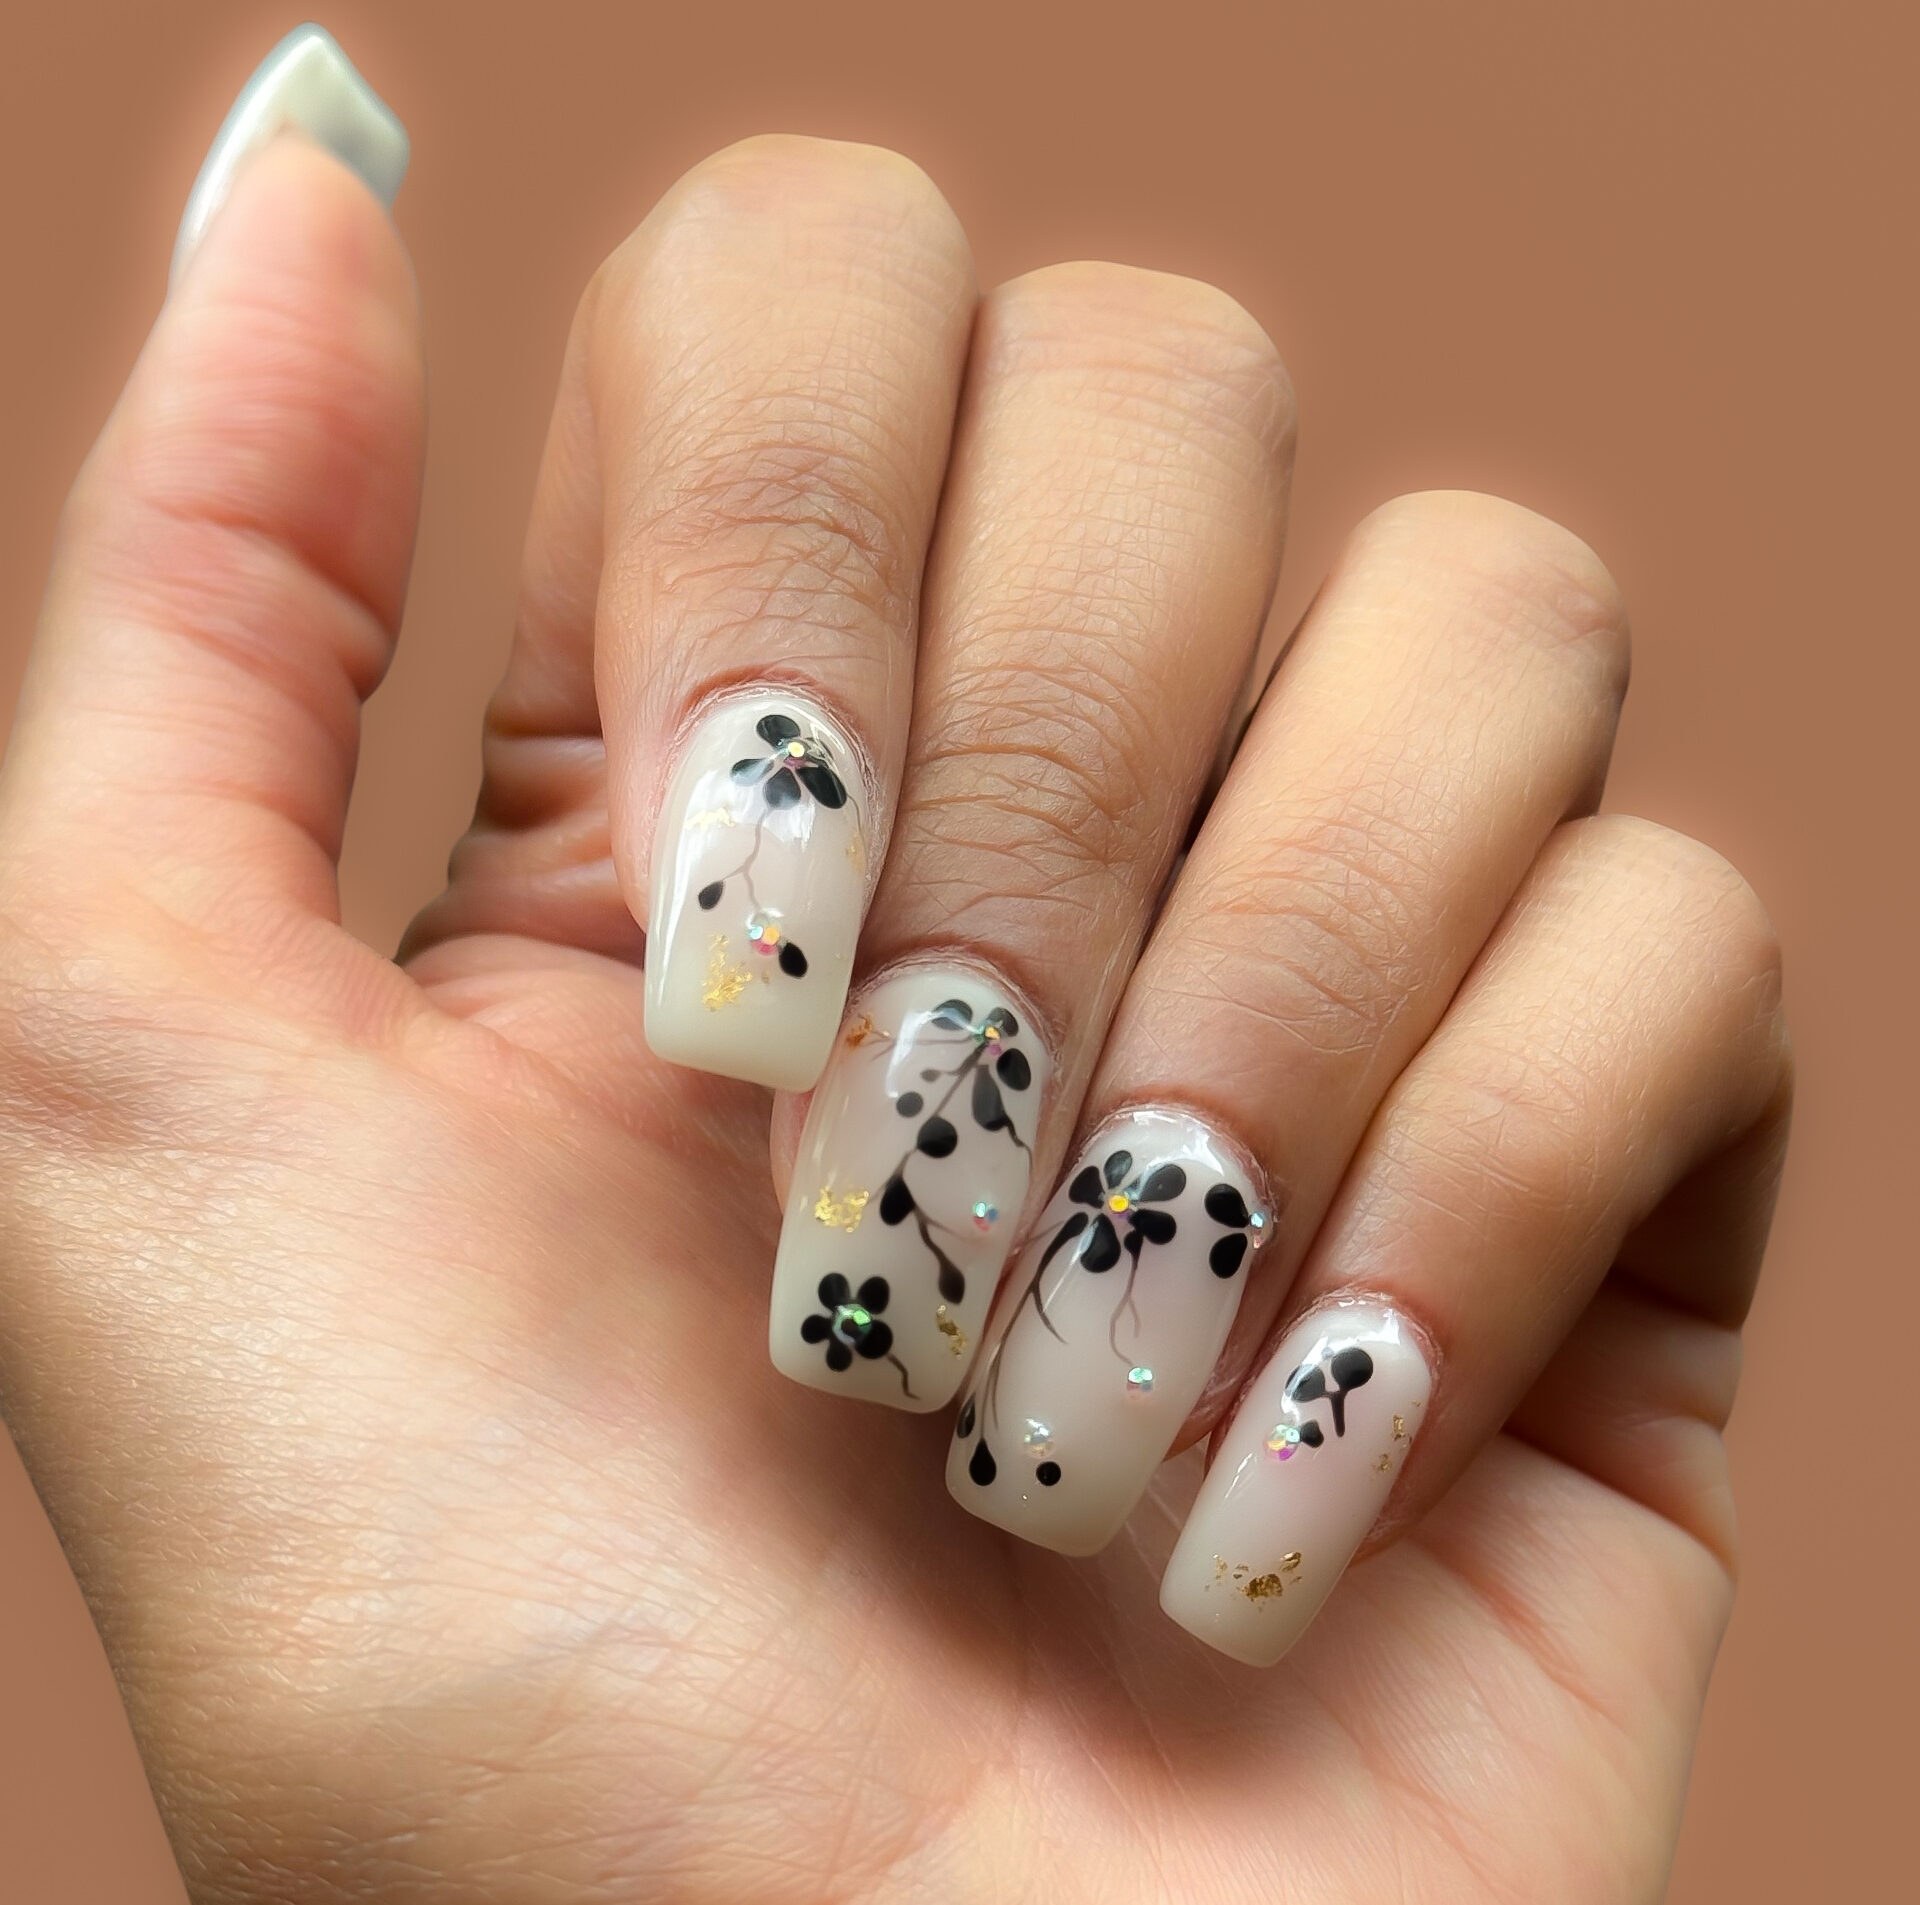
Think in tiers. A single accent nail with dots, a small flower, or a chrome stripe is a few extra minutes. Matching simple art on all ten nails (same motif repeated) is a moderate add, because repetition gets faster once the first nail sets the pattern. Ten individually different hand-painted nails, characters, or dense line work is the top tier and can stretch an appointment considerably. None of this is a warning off; it is how you book the right slot length so the work is not compressed into the last ten minutes.
References that help, and references that mislead
Photos of real hands help. Photos in natural light help more. Heavily filtered images mislead on color, and extreme close-ups mislead on scale: a design photographed from two inches away will be viewed from two feet away in your actual life, where micro-detail disappears. Also check the shape in your reference. Art composed for long coffin nails rearranges awkwardly on short round ones, not because the technician cannot draw it, but because the composition itself changes. When in doubt, let Finesse Nails adapt the reference to your shape rather than copying it corner to corner.
First-timer restraint that ages well
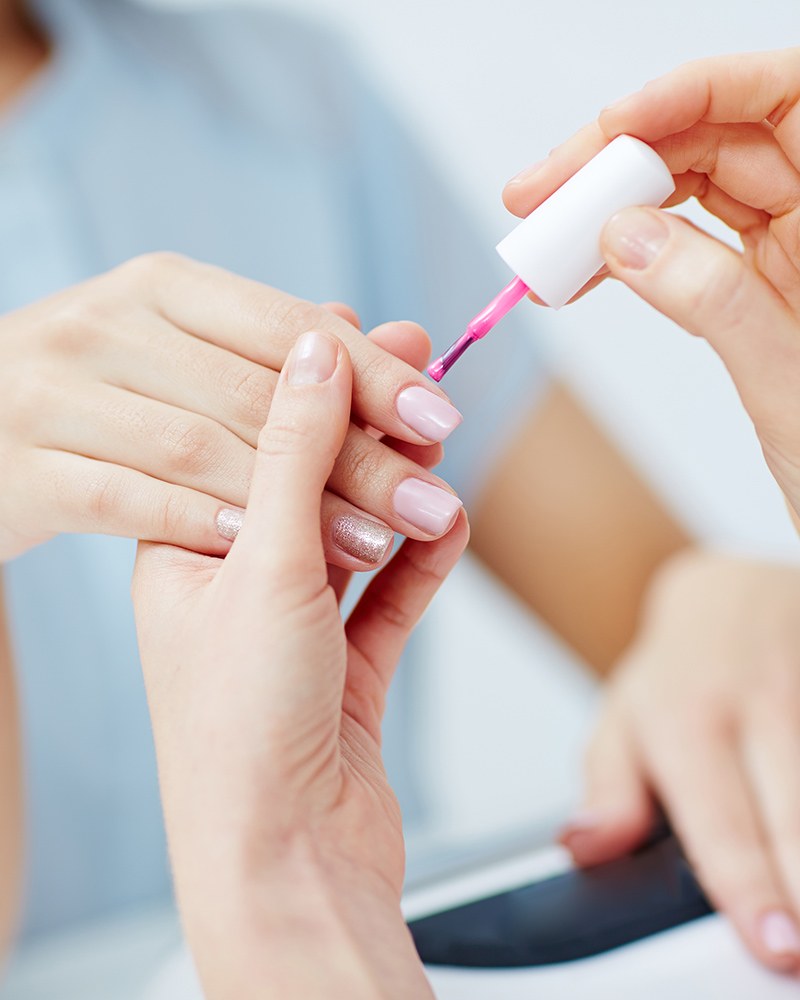
For a first art set, restraint is not boring, it is strategic. Two accent nails tell you whether you enjoy living with art at all: seeing it while you type, catching questions about it, watching it grow out. Grow-out is the part first-timers forget to picture. Busy designs show the gap at the cuticle sooner than plain color, and chips in detailed work are harder to ignore. Start with art you can happily wear for three weeks, not art that peaks on day one.
A note on color under the art
Designs live or die on the base beneath them. Fine dark line work needs a pale, even base to read clearly, while chrome and glitter details can sit over almost anything because they supply their own contrast. If your reference shows art on a milky or sheer base, understand that the base is doing half the work and your natural nail tone will tint it slightly. That is not a flaw; it is why two people can wear the same design and get cousins rather than twins. Agree on the base color in the chair, under the salon lights and again near a window if you can, before the first detailed nail is painted.
Common questions
Should I bring one photo or several?
Bring two or three that point the same direction. One exact photo invites a copy attempt; a small set lets the technician build the right design for your nail shape and length.
Can any photo design be recreated on my nails?
Most can be adapted, but not all can be copied at a smaller size or different shape. The adapted version usually wears better than a squeezed-in copy.
When should I book art for an event?
Book the set one to three days before the event, and mention the art when booking so the appointment is long enough for the detail work.
Photos in this guide are representative stock images.
← All guides from Finesse Nails← Back to Finesse Nails